Scrapbooking is a beloved craft that allows individuals to preserve memories, tell stories, and express their creativity. In recent years, digital scrapbooking has gained popularity as a versatile and accessible alternative to traditional scrapbooking.
With digital tools and resources at your fingertips, you can create stunning, personalized scrapbook pages that are easy to share and store. One of the most powerful tools in digital scrapbooking is clipart.
This guide will delve into how to effectively use clipart in your digital scrapbooking projects, offering tips, techniques, and inspiration to help you create beautiful layouts that capture your memories.
The Basics of Digital Scrapbooking
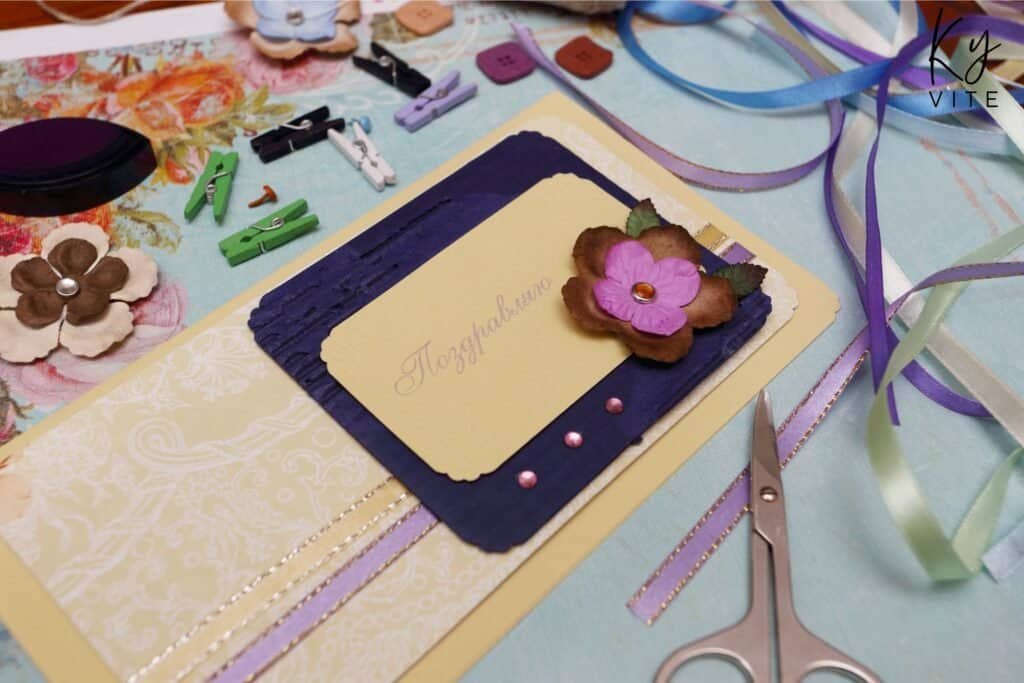
Before we dive into the specifics of using clipart, it’s important to understand the basics of digital scrapbooking. Digital scrapbooking is the art of creating scrapbook pages using digital tools rather than physical materials. Instead of paper, stickers, and embellishments, you’ll work with digital images, fonts, and graphics. The final product can be printed out, shared online, or stored digitally.
Advantages of Digital Scrapbooking:
- Flexibility: Digital scrapbooking allows you to make changes easily. You can resize, recolor, or move elements without damaging the page.
- Cost-Effective: Once you have your digital tools and resources, you can create as many pages as you like without purchasing additional supplies.
- Space-Saving: Digital scrapbooks don’t take up physical space, making them easy to store and share with others.
- Unlimited Creativity: With digital tools, your creative options are virtually limitless. You can use a wide range of fonts, graphics, and effects to enhance your pages.
Tools for Digital Scrapbooking: To get started with digital scrapbooking, you’ll need some basic tools:
- Graphic Design Software: Programs like Adobe Photoshop, Adobe Illustrator, and Canva are popular choices for digital scrapbooking. These programs offer a wide range of tools for creating and editing images.
- Clipart Collections: Clipart is a key component of digital scrapbooking. You can find clipart online, purchase it from digital marketplaces, or create your own.
- Fonts and Textures: Fonts and textures add depth and personality to your scrapbook pages. Many websites offer free or paid fonts and textures for digital use.
- Digital Papers: Digital papers are background images that mimic the look of traditional scrapbook paper. They come in a wide variety of patterns, colors, and textures.
Now that we’ve covered the basics, let’s dive into the specifics of using clipart in digital scrapbooking.
What Is Clipart and Why Is It Important in Digital Scrapbooking?
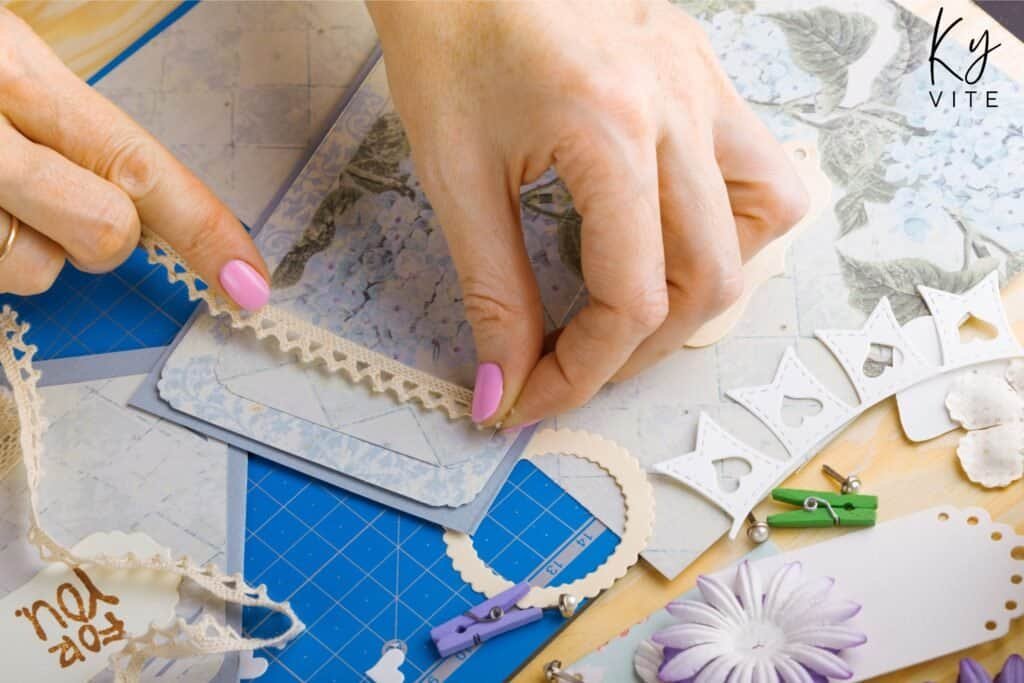
Clipart refers to pre-made images or graphics that can be easily inserted into a document or project. In digital scrapbooking, clipart is used to add visual interest, enhance the theme, and help tell the story of your scrapbook page. Clipart can range from simple icons and shapes to detailed illustrations and photographs.
Types of Clipart Used in Digital Scrapbooking:
- Embellishments: These are decorative elements that add flair to your scrapbook page. Examples include flowers, ribbons, buttons, and frames.
- Thematic Elements: These are clipart images that tie into the theme of your scrapbook page. For example, if you’re creating a Christmas-themed page, you might use clipart of Christmas trees, ornaments, and snowflakes.
- Word Art: Word art is clipart that incorporates text into a decorative design. It’s often used to highlight titles, quotes, or important dates on a scrapbook page.
- Backgrounds and Textures: While not always considered clipart, backgrounds and textures are essential elements in digital scrapbooking. They provide the foundation for your page and set the tone for your design.
Benefits of Using Clipart in Digital Scrapbooking:
- Time-Saving: Clipart allows you to quickly add decorative elements to your scrapbook page without having to create them from scratch.
- Customizable: Many clipart collections are editable, allowing you to change colors, add text, or resize elements to fit your design.
- Consistency: Using clipart can help you maintain a consistent style throughout your scrapbook pages, creating a cohesive look.
- Variety: Clipart is available in a wide range of styles, themes, and formats, making it easy to find the perfect image for your project.
Choosing the Right Clipart for Your Digital Scrapbook
Selecting the right clipart is crucial to creating a successful digital scrapbook page. The clipart you choose should complement your photos, enhance your theme, and add visual interest to your layout. Here are some tips for choosing the right clipart:
- Consider the Theme:
- Match the Clipart to the Theme: When choosing clipart, consider the theme of your scrapbook page. For example, if you’re creating a beach-themed page, look for clipart of seashells, palm trees, and beach balls. If you’re creating a birthday page, choose clipart of balloons, cakes, and presents.
- Consistency in Style: It’s important to choose clipart that matches the overall style of your scrapbook page. If your page has a vintage theme, look for clipart with a retro or antique style. If your page is modern and minimalist, opt for clean, simple clipart with bold lines and shapes.
- Color Coordination:
- Harmonize with Photos: The colors of your clipart should complement the colors in your photos. If your photos have warm tones, choose clipart with warm colors like red, orange, and yellow. If your photos have cool tones, choose clipart with cool colors like blue, green, and purple.
- Create Contrast: To make certain elements stand out, use clipart that contrasts with the background. For example, if your background is light, choose clipart with dark colors. This contrast will draw attention to the clipart and create visual interest.
- Quality and Resolution:
- High-Resolution Clipart: When selecting clipart, make sure it’s high resolution. Low-resolution images can appear pixelated or blurry when printed or enlarged. High-resolution clipart ensures that your designs look crisp and professional.
- Scalable Vector Graphics (SVG): If possible, choose clipart in SVG format. SVG images are vector-based, meaning they can be resized without losing quality. This makes them ideal for digital scrapbooking, where you may need to adjust the size of elements to fit your layout.
- Personalization:
- Editable Clipart: Many clipart collections come with editable files, allowing you to customize the colors, shapes, and text to fit your design. This flexibility allows you to create a unique, personalized scrapbook page that reflects your style.
- Adding Text: Consider using clipart that includes text elements, such as word art or labels. These can be customized with your own text to add a personal touch to your scrapbook page.
How to Incorporate Clipart into Your Digital Scrapbook Layouts
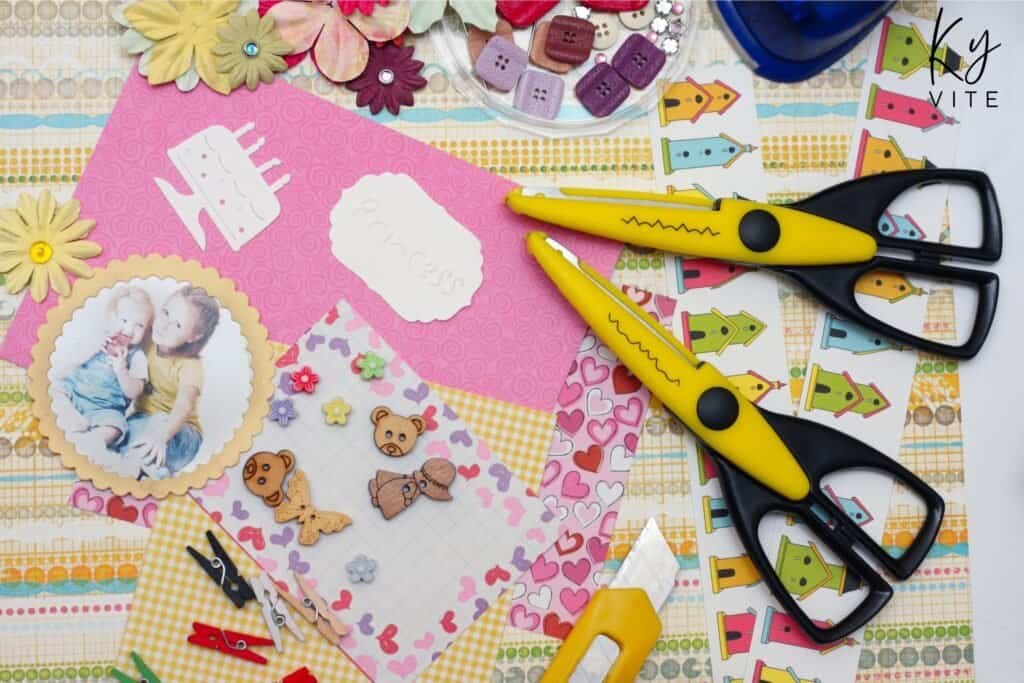
Once you’ve selected your clipart, the next step is to incorporate it into your digital scrapbook layout. Here are some techniques for using clipart effectively in your designs:
- Creating a Focal Point:
- Center of Attention: Use clipart to create a focal point on your scrapbook page. The focal point is the area of the page that draws the viewer’s attention first. For example, you might place a large, detailed clipart image in the center of your page, surrounded by smaller elements like photos and text. This creates a sense of balance and ensures that the most important part of your design stands out.
- Layering Clipart: Layering clipart is a great way to create depth and dimension on your page. Start with a background clipart image, such as a patterned paper or texture, then layer other elements on top, such as photos, frames, and embellishments. Experiment with different arrangements until you find a layout that feels balanced and visually appealing.
- Enhancing Photos with Clipart:
- Framing Photos: Clipart frames are a great way to highlight your photos and make them stand out. Choose a frame that complements the theme and colors of your page, then place your photo inside the frame. You can also add additional clipart elements, such as flowers, ribbons, or buttons, to decorate the frame and create a cohesive look.
- Adding Borders and Corners: Borders and corners are another way to enhance your photos with clipart. Use a decorative border to frame the entire photo or add corner embellishments to highlight the edges. This technique adds a touch of elegance and helps your photos blend seamlessly with the rest of the design.
- Using Clipart as Backgrounds:
- Creating Custom Backgrounds: Clipart can be used to create custom backgrounds for your scrapbook pages. Start with a solid color or patterned background, then layer clipart images on top to add texture and interest. For example, you might use a clipart image of a lace pattern, a wood texture, or a vintage paper to create a unique background that sets the tone for your page.
- Repeating Patterns: Another way to use clipart as a background is to create a repeating pattern. Choose a small clipart image, such as a flower or star, and repeat it across the entire page to create a patterned background. This technique works well for themed pages, such as holiday or birthday layouts, where a consistent pattern can help reinforce the theme.
- Creating Collages with Clipart:
- Mixing and Matching Elements: Clipart is perfect for creating collages on your scrapbook page. Choose a variety of clipart images that match your theme, then arrange them in a collage-style layout. For example, if you’re creating a travel-themed page, you might include clipart of suitcases, maps, and airplanes arranged in a collage around your photos. This technique adds visual interest and allows you to incorporate a variety of elements into your design.
- Layering Different Styles: Don’t be afraid to mix and match different styles of clipart in your collage. For example, you might combine vintage clipart with modern elements, or mix hand-drawn illustrations with digital graphics. This eclectic approach can create a unique and dynamic design that reflects your personal style.
- Adding Titles and Journaling with Clipart:
- Word Art and Titles: Word art is a popular form of clipart that incorporates text into a decorative design. Use word art to create titles for your scrapbook page, such as “Vacation Memories” or “Family Fun.” You can also customize the text to match the theme of your page, adding your own words, names, or dates. This technique adds a professional touch and helps guide the viewer’s eye through the layout.
- Journaling Blocks: Journaling is an important part of scrapbooking, as it allows you to tell the story behind the photos. Use clipart to create journaling blocks where you can add your text. For example, you might use a clipart frame or label as a journaling block, then type your text inside. This technique helps integrate the journaling with the rest of the design, making it feel like a cohesive part of the layout.
Tips and Tricks for Using Clipart in Digital Scrapbooking
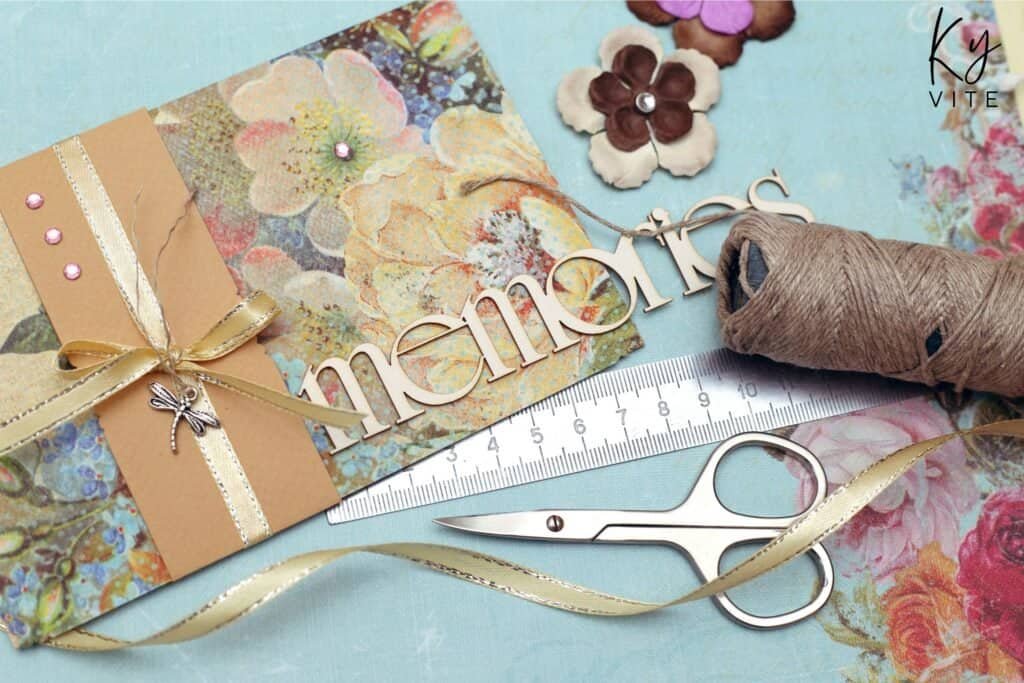
Using clipart in digital scrapbooking can be a lot of fun, but it also requires some skill and creativity. Here are some tips and tricks to help you get the most out of your clipart:
- Experiment with Different Layouts:
- Try Multiple Arrangements: Don’t be afraid to experiment with different layouts when using clipart. Move elements around, try different combinations, and see what works best for your page. Sometimes the most unexpected arrangements can lead to the most creative and unique designs.
- Use Templates: If you’re new to digital scrapbooking, or if you’re looking for some inspiration, consider using a template. Templates provide a pre-designed layout that you can customize with your own photos, text, and clipart. This is a great way to learn the basics of digital scrapbooking and get a feel for how to use clipart effectively.
- Play with Opacity and Blending Modes:
- Adjust Opacity: Changing the opacity of your clipart can create interesting effects on your scrapbook page. For example, you might lower the opacity of a background clipart image to create a subtle texture, or reduce the opacity of an embellishment to make it blend seamlessly with the rest of the design. This technique adds depth and dimension to your layout.
- Experiment with Blending Modes: Blending modes are a powerful tool in digital scrapbooking. They determine how the colors of your clipart interact with the colors of the background. Experiment with different blending modes, such as Multiply, Overlay, or Screen, to create unique effects and enhance the overall look of your page.
- Use Shadows and Highlights:
- Add Drop Shadows: Adding drop shadows to your clipart elements can create a sense of depth and make them appear more realistic. For example, you might add a drop shadow to a frame or embellishment to make it look like it’s lifted off the page. This technique is especially effective for creating a 3D effect in your digital scrapbook.
- Highlight Important Elements: Use highlights to draw attention to important elements on your page. For example, you might add a highlight to a title or journaling block to make it stand out. This technique helps guide the viewer’s eye and emphasizes the key parts of your layout.
- Incorporate Textures and Patterns:
- Layer Textures: Layering textures is a great way to add depth and interest to your scrapbook page. For example, you might layer a wood texture over a solid color background, then add clipart elements on top. This technique creates a rich, tactile feel that mimics the look of traditional scrapbooking.
- Mix and Match Patterns: Don’t be afraid to mix and match different patterns in your digital scrapbook. For example, you might use a striped background with a polka dot frame, then add floral clipart elements on top. This eclectic approach creates a dynamic, visually interesting layout that reflects your personal style.
- Customize Clipart for a Unique Look:
- Change Colors: Many clipart collections allow you to customize the colors of the elements. Take advantage of this feature to match the clipart to the color scheme of your scrapbook page. For example, if your page has a pastel color palette, change the colors of the clipart to pastel shades. This creates a cohesive look and ensures that the clipart blends seamlessly with the rest of the design.
- Resize and Rotate Elements: Don’t be afraid to resize and rotate clipart elements to fit your layout. For example, you might rotate a frame to create a diagonal border, or resize an embellishment to fit in a smaller space. This flexibility allows you to create a custom design that perfectly suits your needs.
- Keep It Simple:
- Less Is More: When using clipart, it’s important to remember that less is often more. While it can be tempting to add lots of clipart elements to your page, too much can make the layout feel cluttered and overwhelming. Instead, focus on a few key elements that enhance the theme and tell the story of your page.
- Focus on the Photos: Remember that the primary purpose of your scrapbook page is to showcase your photos. Use clipart to enhance the photos, but don’t let it overshadow them. By keeping the design simple and focused, you can create a layout that is both visually appealing and meaningful.
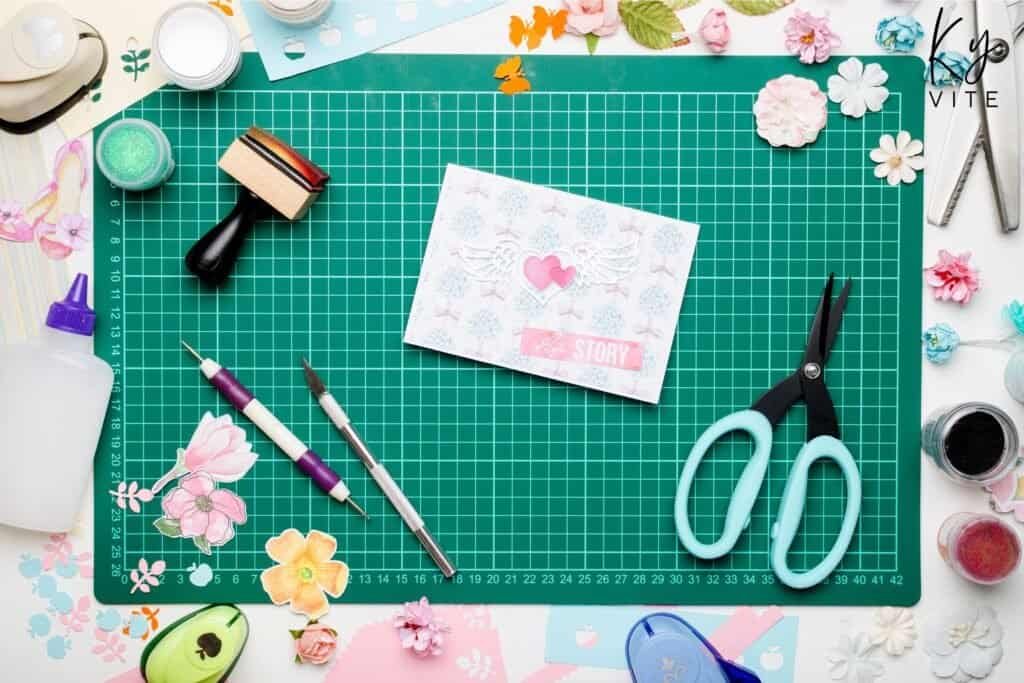
Inspiration for Digital Scrapbooking with Clipart
If you’re looking for some inspiration for your digital scrapbooking projects, here are a few ideas to get you started:
- Seasonal and Holiday Pages:
- Christmas Scrapbook: Use clipart of Christmas trees, ornaments, and snowflakes to create a festive holiday page. Add word art with holiday greetings, and use a patterned background with a winter theme.
- Halloween Scrapbook: Create a spooky Halloween page with clipart of pumpkins, ghosts, and witches. Use a dark, moody background, and add word art with phrases like “Trick or Treat” or “Spooky Night.”
- Travel and Adventure Pages:
- Vacation Scrapbook: Use clipart of suitcases, maps, and airplanes to create a travel-themed page. Add journaling blocks with descriptions of your trip, and use a patterned background that reflects the destination.
- Nature Scrapbook: Create a nature-themed page with clipart of trees, flowers, and animals. Use a textured background with a wood or leaf pattern, and add word art with phrases like “Outdoor Adventure” or “Nature Walk.”
- Family and Memory Pages:
- Family Reunion Scrapbook: Use clipart of family trees, hearts, and banners to create a family-themed page. Add journaling blocks with names and dates, and use a patterned background with a vintage or nostalgic feel.
- Baby’s First Year Scrapbook: Create a baby-themed page with clipart of bottles, pacifiers, and baby animals. Use a pastel color palette, and add word art with phrases like “Welcome Baby” or “First Year.”
- Celebration and Milestone Pages:
- Birthday Scrapbook: Use clipart of balloons, cakes, and presents to create a birthday-themed page. Add journaling blocks with details of the celebration, and use a patterned background with a festive or party theme.
- Graduation Scrapbook: Create a graduation-themed page with clipart of diplomas, caps, and books. Use a school-themed background, and add word art with phrases like “Congratulations” or “Class of [Year].”

Final Thoughts on Using Clipart in Digital Scrapbooking
Digital scrapbooking is a fun and creative way to preserve memories and tell your story. Clipart plays a crucial role in enhancing your scrapbook pages, adding visual interest, and helping to convey the theme and mood of your layout. By selecting the right clipart, experimenting with different techniques, and customizing the elements to suit your design, you can create beautiful, personalized scrapbook pages that capture your memories in a meaningful way.
We hope this guide has provided you with the inspiration and tools you need to get started with using clipart in your digital scrapbooking projects. Whether you’re a seasoned scrapbooker or just getting started, clipart offers endless possibilities for creativity and expression. So go ahead, explore the world of clipart, and start creating scrapbook pages that are as unique and special as the memories they preserve.